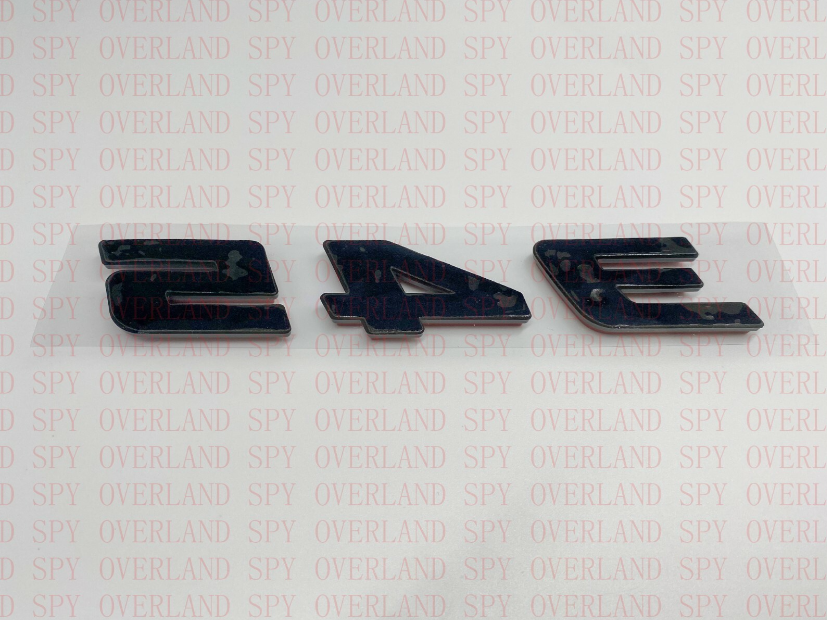


HEMI (Black and Red) Badge Emblem – Adhesive Fender/Side Logo Sticker for Trucks & Cars
HEMI (Black and Red) Badge Emblem – Adhesive Fender/Side Logo Sticker for Trucks & Cars
Couldn't load pickup availability
SIZE : 6.75" Wide x 1.25" Tall; 3/8" Thick
Add authentic HEMI style to your vehicle with this high-quality HEMI badge emblem. Perfect for fenders, doors, or side panels, this durable logo delivers a factory-inspired look that stands out on trucks, muscle cars, and performance vehicles.
Key Features:
- Bold HEMI Design — Classic lettering that instantly highlights V8 power and performance heritage
- Premium Construction — Durable materials with strong adhesive backing for long-lasting outdoor use
- Easy Installation — Peel-and-stick application — no tools or drilling required
- Weather Resistant — Built to withstand sun, rain, car washes, and daily driving
- Versatile Fit — Suitable for most trucks, SUVs, and cars looking for a HEMI accent
Package Includes: 2 × HEMI Badge Emblems
Installation Tip: Clean the surface thoroughly before applying for the strongest adhesion and best appearance.
Give your ride a powerful, performance-inspired upgrade with this sharp HEMI emblem. A simple way to show off V8 style!
Important |
Vehicle Emblem and Badge Installation Instructions |
|---|---|
|
Step 1 |
Removing old emblem or emblems can done neatly by using a heat gun on the lowest setting. Carefully pry the old emblem off using a putty scraper. |
|
Step 2 |
Then clean the area where the emblem adhesive still remains. Use adhesive cleaner and a clean rag. |
|
Step 3 |
Most important step is to use rubbing alcohol on a different rag to clean the remaining grease or dirt from the location. Allow it to air dry. |
|
Step 4 |
Using a level or ruler to create a straight line parallel to the ground, marking the location of the emblem against desired surface or body lines. Use painter’s tape to make your guide lines. |
|
Step 5 |
Prepare the emblem, making sure it's clean. Be sure to never touch the application adhesive on the back of the emblem after Remove the backing tape from the adhesive. |
|
Step 6 |
Hold the emblem just above the surface in the desired location, using the painter’s tape as a guide to keep the emblem level located properly. |
|
Step 7 |
Stick the emblem on and hold it in place until the adhesive has had a chance to setup bond on the surface of the vehicle. This usually takes 10 seconds.. |